

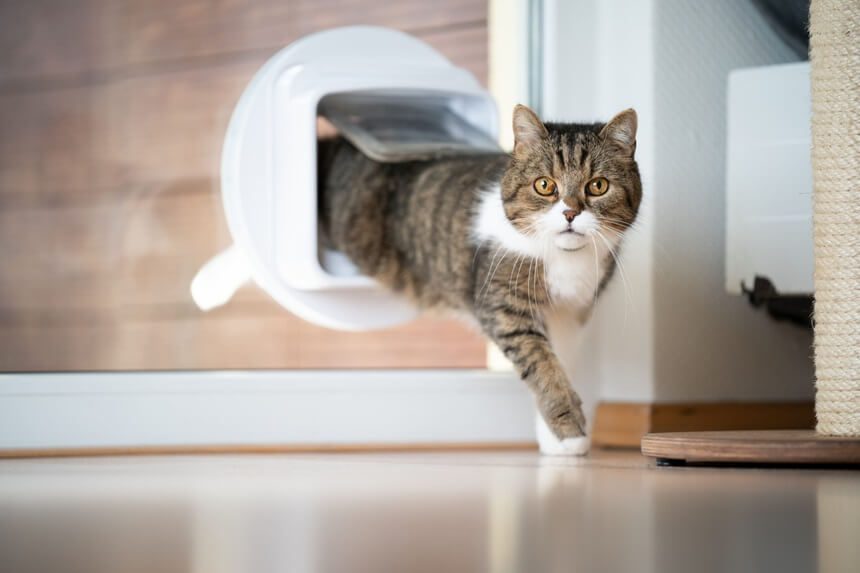
Welcome to your ultimate guide on how to install a cat flap! Whether you’re a new pet owner or a seasoned cat lover, providing your feline friend with a convenient access point to the great outdoors can enhance their quality of life while giving you peace of mind. In this comprehensive article, we’ll walk you through the process of installing a cat flap step by step, ensuring it’s a smooth and hassle-free experience for both you and your beloved pet.
1. Introduction
So, you’ve decided to give your furry friend the freedom they deserve by installing a cat flap. Congratulations! This simple yet effective device will allow your cat to come and go as they please, without the need for constant human intervention. But how exactly do you go about installing one? Don’t worry, we’ve got you covered.
2. Understanding Cat Flaps
Before diving into the installation process, let’s take a moment to understand what exactly a cat flap is and how it works. Also known as a pet door or kitty door, a cat flap is a small opening in a door or wall that allows cats to enter and exit the house without needing assistance from their owners. It typically consists of a flap or door that is hinged at the top and can swing inward or outward to permit passage.
3. Choosing the Right Cat Flap
Not all cat flaps are created equal, so it’s essential to choose one that suits both your cat’s needs and your home. Consider factors such as size, material, security features, and installation requirements. Opt for a flap that is durable, weather-resistant, and easy for your cat to operate.
4. Tools and Materials
Before you begin the installation process, gather all the necessary tools and materials. You’ll typically need a jigsaw or keyhole saw, a drill with assorted bits, screws, a screwdriver, measuring tape, pencil, and possibly a level. Additionally, ensure you have the correct cat flap kit, including the flap itself and any accompanying hardware.
5. Preparing for Installation
Prepare the location where you intend to install the cat flap. Measure the height from the floor to ensure it’s at an appropriate height for your cat to access comfortably. Mark the outline of the flap on the door or wall using a pencil and template provided with the kit. Double-check the measurements to ensure accuracy before proceeding.
6. Installing the Cat Flap
Now comes the fun part – installing the cat flap! Using a jigsaw or keyhole saw, carefully cut along the outline you marked earlier. Take your time to ensure smooth, precise cuts. Once the opening is complete, insert the cat flap into place according to the manufacturer’s instructions. Use a drill to secure it firmly in position, ensuring it’s level and flush with the surface.
7. Testing and Adjustments
With the cat flap installed, it’s time to test it out. Encourage your cat to approach the flap and demonstrate how to use it by gently nudging the flap open. Allow your cat to come and go freely through the flap, observing their behavior to ensure they’re comfortable with it. Make any necessary adjustments to the flap’s tension or positioning to ensure smooth operation.
8. Tips for Success
To ensure a successful installation, here are a few additional tips to keep in mind:
Choose a quiet location: Install the cat flap in a quiet, low-traffic area of your home to minimize disturbances.
Train your cat: Encourage your cat to use the flap by placing treats or toys on the other side to entice them through.
Regular maintenance: Periodically clean and lubricate the flap to ensure smooth operation and prevent debris buildup.
9. Maintenance Tips
Once your cat flap is installed and operational, it’s essential to maintain it properly to prolong its lifespan and ensure continued functionality. Here are some maintenance tips to keep in mind:
Regular cleaning: Wipe down the flap with a damp cloth regularly to remove dirt, grime, and pet hair.
Check for damage: Inspect the flap periodically for any signs of wear and tear, such as cracks or tears, and replace it if necessary.
Lubricate moving parts: Apply a small amount of silicone lubricant to the hinges and moving parts to keep them operating smoothly.
Conclusion
In conclusion, installing a cat flap is a simple yet rewarding project that can greatly improve your cat’s quality of life while providing them with the freedom and independence they crave. By following the steps outlined in this guide and taking proper care of your cat flap, you can ensure a smooth and hassle-free experience for both you and your furry friend.
FAQs
Q1: How long does it take to install a cat flap?
Installing a cat flap typically takes around 1-2 hours, depending on your level of experience and the complexity of the installation.
Q2: Can I install a cat flap in a glass door?
Yes, it’s possible to install a cat flap in a glass door, but it requires special tools and expertise. Consider hiring a professional glazier to ensure a safe and proper installation.
Q3: Will installing a cat flap decrease the security of my home?
While cat flaps do provide a point of entry into your home, most modern designs come with security features to prevent unauthorized access. Additionally, you can opt for cat flaps with locking mechanisms for added peace of mind.
Q4: My cat is hesitant to use the cat flap. What should I do?
Patience is key when training your cat to use the cat flap. Encourage them with treats or toys and avoid forcing them through the flap. With time and positive reinforcement, most cats will learn to use it on their own.
Q5: Can I install multiple cat flaps in my home?
Yes, you can install multiple cat flaps in different locations throughout your home to provide multiple access points for your cats. Just be sure to consider factors such as security and convenience when choosing the placement of each flap.


