

Learn how to silhouette and crop photos in Adobe Photoshop with the polygon lasso and prepare them for animation in After Effects.
The best tool to easily crop our images in Photoshop, the world’s most popular photo editing program. With your cropped photos, you can apply any other background, correct blemishes, or combine them with other images to achieve creative compositions. Here we explain how to do it step by step, even if you have hardly used the program. Since you will not need perfect borders for your animated collages, this is a great exercise if you are starting out in this technique and you are afraid of not doing it absolutely well.
How to crop your images in Adobe Photoshop?
Although there are different tools in Photoshop that allow us to crop our images, in this case, we will use the polygonal lasso tool: an easy, fast and simple option to learn for those who are starting to use Photoshop.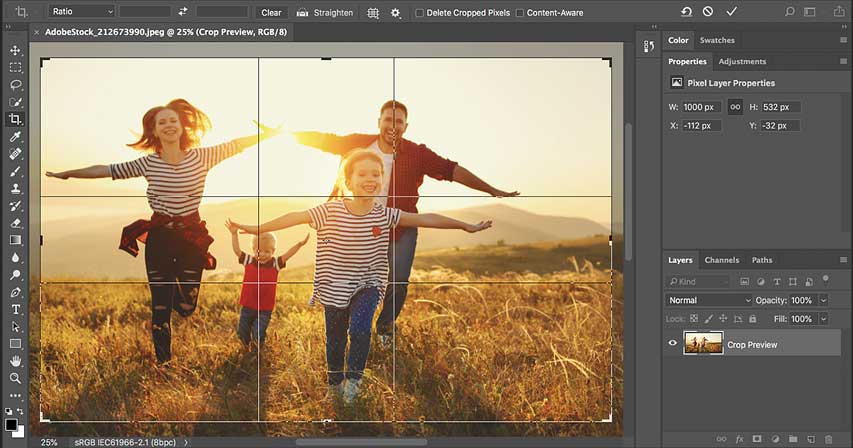
-
Open the image
Start Photoshop and load the image you want to crop.
- Choose the polygonal lasso as a cutting tool
Although there are other tools, such as the pen, that would allow us to crop our image, in this case, it is best to use the polygonal lasso. You’ll find it in the toolbar to the left of the Photoshop interface.
- Select the shape or element you want to cut
Once the polygonal bow has been chosen, you will only have to manually mark all the edge of the silhouette that you want to cut. With each mouse click, you will mark a new point from which to launch a line; image editing services repeat this process until you complete the silhouette you want, closing the selection by clicking on the starting point. Remember to take advantage of zooming in and zooming out to focus on the smallest details or to appreciate the selection from a broader perspective.
- Create a new layer to correct the details
The Ctrl + J (Cmd + J on Mac) key combination will automatically create a new layer that will contain only the shape you just selected with the polygonal lasso. Add another new layer underneath the layer you just created and fill it with a color that contrasts with the figure, in order to start correcting those details that need to be debugged. Look closely at all the edges and simply select the imperfections; pressing Delete, you can delete them.
- Collapse the selection to correct any other imperfections
By removing one or two pixels from the entire outline of the selection, you will be sure to get rid of any blemishes as well. To do this, select the layer your figure is in from the layers menu on the right side of the interface, pressing Ctrl + Shift or Cmd + Shift at the same time, and you will see how the borders are selected again. Now go to “Select”, “Modify” and finally “Collapse”, and collapse the selection by one pixel. Now, pressing Ctrl + Shift + I (Cmd + Shift + I on Mac), invert the selection and press Delete.
- Blend the edges to give it the final finish
To reduce the definition of the borders, select the layer with your figure again by pressing its icon in the layers menu + Ctrl + Shift (+ Cmd + Shift on Mac), collapse the selection as in the previous step but this time increasing it to 3 pixels, invert the selection again and finally go to “Blur” and “Gaussian blur”. By modulating the blur, you can choose how you want it to affect the edges of your figure.
- Export to After Effects so you can animate the silhouetted image
Save your figure as a PSD file, and open After Effects. Import, from the icon in the upper left corner of the screen that indicates “Open”, your trimmed figure.
You can learn this and many other tricks of retouching with Photoshop or animation in After Effects from Joseba Elorza, in his Retro movement course in After Effects.


