A well-maintained deck can enhance your backyard’s appeal, but if your wooden deck is showing signs of wear and tear, it’s time to consider removal. Removing an old deck can free up space for exciting landscaping opportunities and can even save you money. A savvy homeowner can typically reduce costs by taking on the deck demolition themselves, leaving more budget for constructing a new one. In this guide, we’ll provide you with a step-by-step approach to tear down your wood deck, with expert advice to make the process smooth.
How to Demo Your Deck in 7 Simple Steps:
Step 1: Understand Your Deck Structure Demolishing a deck is a substantial task that involves not only removing the boards and framing but also dealing with waste material disposal. Before you start the demolition process, familiarize yourself with your deck’s construction and assess the amount of debris you’ll need to handle.
Step 2: Gather Necessary Tools and Safety Gear Ensure you have all the required tools and safety equipment to complete the job safely. When demolishing a deck, protect yourself with gloves and protective eyewear to shield against splinters, nails, and flying debris. Here’s the list of tools and safety gear you’ll need:
Tools
Screwdriver
Hammer
Pry bar
Hand saw
Chainsaw (optional)
Sledgehammer (if necessary)
Safety Equipment
Gloves
Protective eyewear
Closed-toe shoes
Knee pads
Face mask
Step 3: Remove the Railing Begin at one end of the deck, removing screws or nails that secure the handrail in place. After detaching the handrail, remove the balusters by gently working them back and forth. Once the top rail and balusters are gone, disconnect the bottom rail in the same manner.
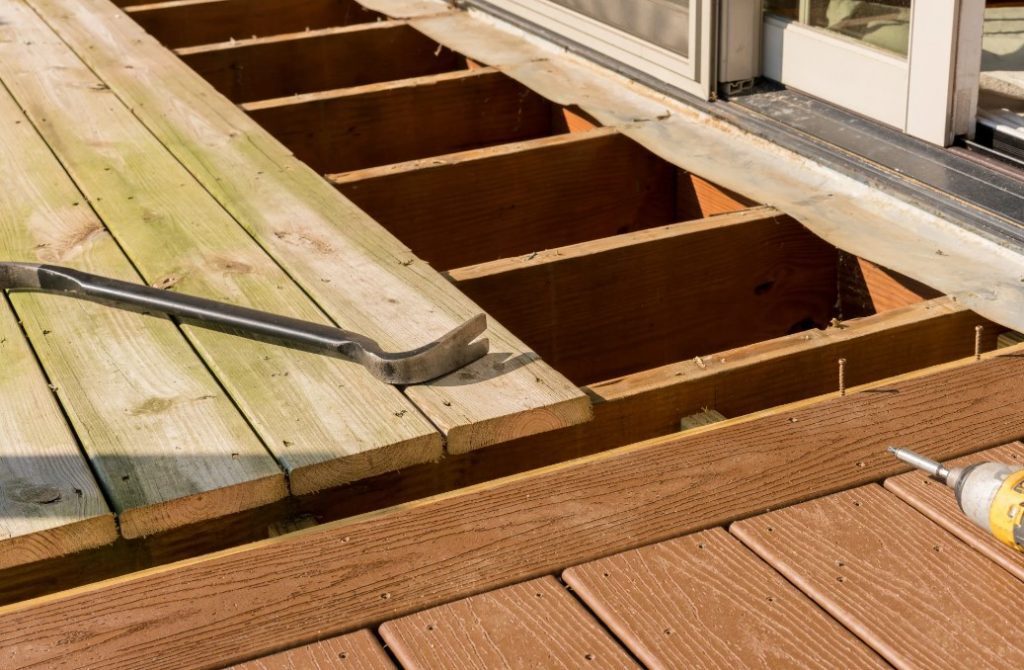
Step 4: Take Off Deck Boards Starting from one end, unscrew each board or use a pry bar if they are nailed down. Depending on the board’s size, you might need to cut them into smaller pieces for easy removal. Transport the boards to your dumpster for efficient disposal.
Step 5: Dismantle the Steps After removing the deck boards, follow a similar process to get rid of the treads and risers for the steps. Lift the treads using a pry bar and, once all treads are removed, cut the risers and stringers into manageable pieces for disposal.
Step 6: Detach the Deck from Your Home If your deck isn’t attached to your house, proceed to the next step. Use a saw to cut the frame away from the ledger board attached to your house, starting from one end and moving carefully to the other. As you cut, the deck’s weight will naturally pull it away from the house. After detaching the frame, remove the ledger board.
Step 7: Remove Decking Joists and Rim Joist Pry the decking joists away from the frame. If the joists are large and challenging to remove, loosen them with a sledgehammer before prying them free.
Step 8: Extract Supporting Deck Posts Use a shovel to dig around the deck posts and loosen them. At the base of each post, there’s likely concrete support used for stability. If the concrete pieces are large or hard to move, break them apart with a sledgehammer. Once the base is loose, carefully lift it out of its spot.
Completing Your Deck Demolition With the support beams out of the ground and all the deck components in the residential trash dumpster rental, your deck removal is finished. Arrange for your dumpster to be picked up, and you’ll be ready to tackle your next outdoor project.