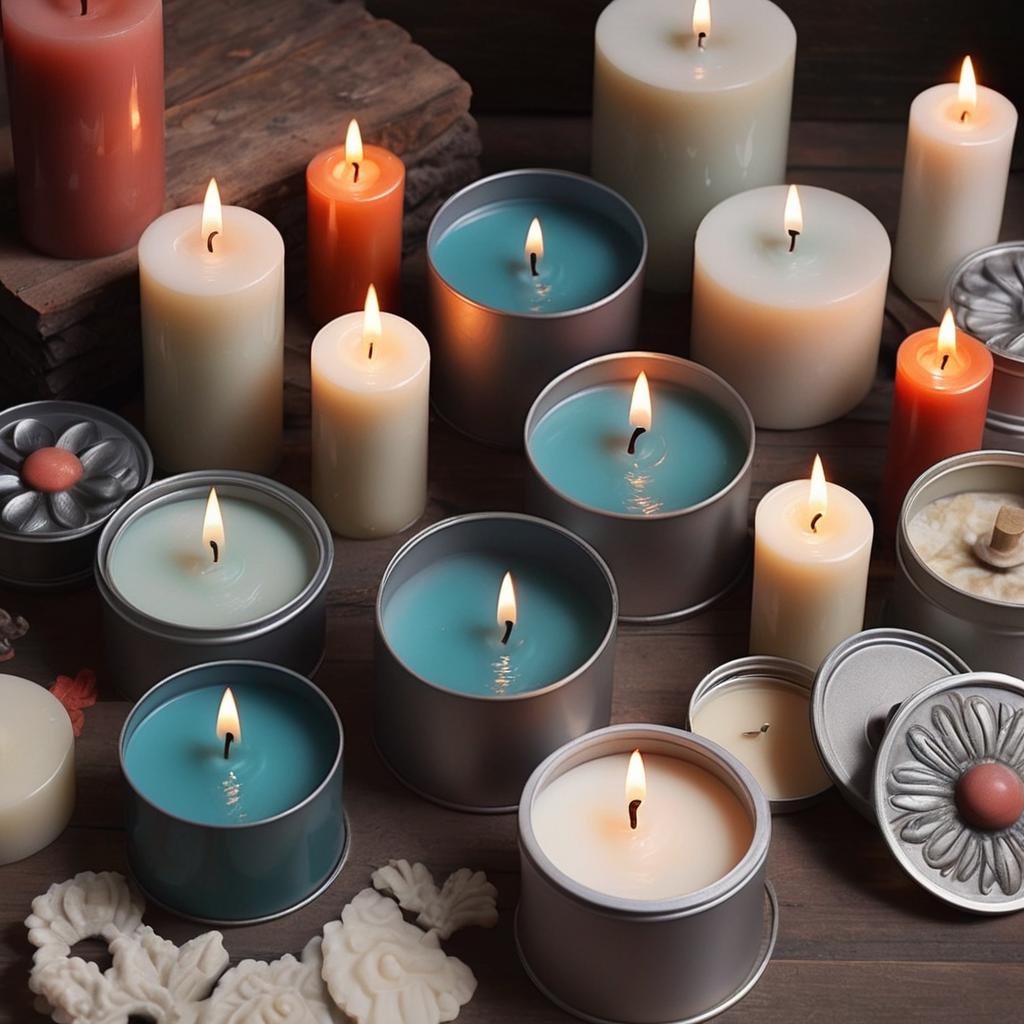
Discover the key scientific principles behind achieving perfect candle molds every time.
Understanding the Role of Temperature in Candle Making
Temperature plays a crucial role in candle making. The temperature at which the wax is melted and poured into the mold affects the outcome of the candle. If the wax is too hot, it can cause the mold to warp or deform. On the other hand, if the wax is too cool, it may not properly fill the mold, resulting in a poor-quality candle. It is important to find the ideal temperature for your specific wax and mold combination to ensure successful candle making.
Monitoring the temperature throughout the candle making process is essential. Using a thermometer, you can accurately measure the temperature of the wax and adjust accordingly. Different types of waxes have different melting points, so it is important to follow the recommended temperature guidelines provided by the wax manufacturer. By understanding the role of temperature and maintaining the optimal temperature range, you can create beautiful and well-formed candles every time.
Choosing the Right Mold Material for Optimal Results
The choice of mold material is crucial for achieving optimal results in candle making. There are various types of mold materials available, including silicone, metal, and plastic. Each material has its own advantages and considerations.
Silicone molds are popular for their flexibility and ease of release. They can withstand high temperatures and are durable, making them ideal for complex candle designs. Metal molds, on the other hand, provide excellent heat conduction, resulting in faster and more even cooling of the wax. They are often used for pillar candles and other sturdy candle shapes. Plastic molds are affordable and easy to use, but they may not withstand high temperatures and can be prone to warping.
When choosing a mold material, consider the type of candle you want to create, the level of detail in the design, and your personal preferences. It is also important to properly care for and maintain your molds to prolong their lifespan and ensure consistent results.
Mastering the Art of Proper Mold Preparation
Proper mold preparation is essential for successful candle making. Before pouring the wax into the mold, it is important to ensure that the mold is clean and free from any debris or residue. This can be achieved by washing the mold with warm water and mild soap, and thoroughly drying it to prevent water droplets from affecting the quality of the candle.
In addition to cleaning the mold, it is also important to apply a mold release agent or a thin layer of mold sealer. This helps in easy release of the candle from the mold once it has cooled and solidified. There are various mold release agents available in the market, such as silicone spray or vegetable oil. It is recommended to choose a release agent that is compatible with your mold material and wax type.
Taking the time to properly prepare your mold before pouring the wax can greatly improve the outcome of your candles. It ensures that the candles are easily released from the mold and have a smooth and flawless appearance.
Exploring Advanced Techniques for Complex Candle Designs
Candle making offers endless possibilities for creating unique and complex designs. By exploring advanced techniques, you can take your candle making skills to the next level and create candles that are true works of art.
One advanced technique is the use of embeds or inclusions. These are small decorative elements that are added to the wax before pouring it into the mold. They can be dried flowers, decorative stones, or even small figurines. Embeds add visual interest and can create stunning effects when the candle is lit.
Another advanced technique is the use of multiple colors or layers in the candle. By carefully pouring different colored wax at different stages, you can create beautiful patterns and gradients. This requires precise timing and temperature control to ensure that the layers bond together seamlessly.
Advanced techniques also include experimenting with different types of waxes, additives, and fragrances. Beeswax, soy wax, and paraffin wax each have their own unique characteristics and can produce different results. Additives such as stearin or vybar can enhance the performance of the wax and improve the quality of the candle. Fragrances can add an extra dimension to the candle, creating a pleasant aroma when it is burned.
By exploring these advanced techniques and constantly pushing the boundaries of your creativity, you can create candles that are not only functional but also visually stunning.
Troubleshooting Common Issues in Candle Mold Techniques
Even with careful preparation and execution, issues can arise in candle mold techniques. Understanding common problems and their solutions can help you troubleshoot and overcome any challenges you may encounter.
One common issue is air bubbles forming in the wax. This can happen due to improper pouring techniques or temperature fluctuations. To prevent air bubbles, ensure that the wax is poured slowly and evenly into the mold. Tap the mold gently to release any trapped air bubbles. If air bubbles still appear, you can use a heat gun or a hairdryer to carefully melt the surface of the candle and remove the bubbles.
Another common issue is the candle sticking to the mold. This can occur if the mold was not properly prepared or if the wax has not cooled and solidified completely. To release a stuck candle, place the mold in the freezer for a few minutes to shrink the wax slightly. Then, gently twist or flex the mold to release the candle. If the candle still doesn’t come out, you can use a blunt tool to carefully loosen the edges of the candle.
Uneven cooling and shrinking of the candle can also be a problem. This can be caused by drafts or temperature changes during the cooling process. To ensure even cooling, place the mold in a draft-free area and avoid sudden temperature fluctuations. If the candle shrinks or develops sinkholes, you can melt a small amount of additional wax and carefully pour it into the depressed areas to fill them.
By troubleshooting these common issues and learning from your experiences, you can improve your candle mold techniques and achieve consistent and successful results.